Hexo 產生的靜態網誌預設可以本機執行,但若要讓大家看看到勢必要部署到外部網路空間,由於是靜態網站部署到哪個網頁空間都不成問題,本文是建議部署到 GitHub Pages 上,以下就一步步說明步驟。
部署說明
Hexo 預設可以支援以下部署方式
- Git
- Heroku
- Rsync
- OpenShift
- FTPSync
- SFTP
- 手動 Copy
public資料夾
本文使用 Git 部署,需先安裝 hexo-deployer-git 套件
其他部署方式請參考 Hexo部署
1 | npm install hexo-deployer-git --save |
GitHub Pages 設定
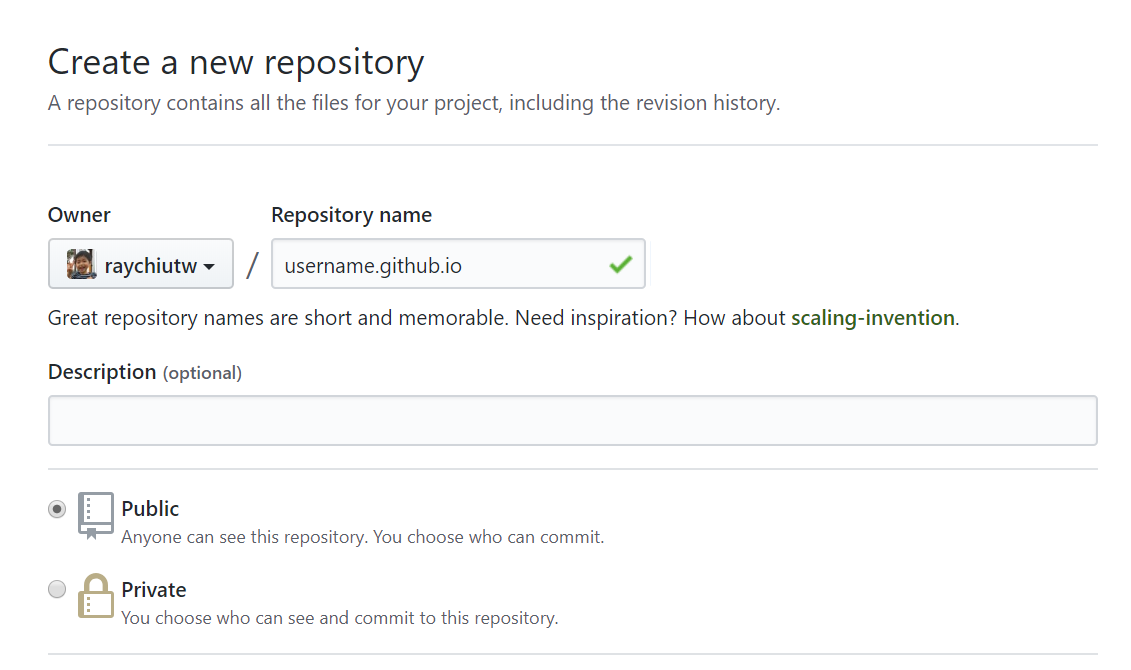
到 GitHub 上新增一個 repo,名稱必須是 {username}.github.io

設定 _config.yml
1 | deploy: |
repo 有幾種驗證方式可以 push 到 Github,這裡選擇最簡單的自帶帳密的方式。
若有多組 Git 部署可以參考以下設定
1 | deploy: |
若是多種部署方式可參考以下設定
1 | deployer: |
開始部署
請執行以下命令
1 | hexo d |
也可使用以下兩種指定,產生網頁後部署
1 | hexo d -g |
或
1 | hexo g -d |
執行完之後就算完成部署到外部網頁空間囉。