Hugo 快速安裝教學
Hugo 是用 Go 語言開發的靜態網站產生器(Static Site Generator),有著超快產生速度的優點,就讓我們來玩玩看吧。
安裝
Hugo 提供多種安裝方式,含括 Windows / Linux / macOS,以下列出 Windows 與 macOS 安裝方式,其他安裝方式請直接參考官網說明。
Chocolatey (Windows)
choco install hugo -confirmHomebrew (macOS)
brew install hugo其他安裝方式
請參考 install。
檢查安裝版本
hugo version建立新站台
hugo new site hugodemo新增佈景主題
Hugo 安裝好是沒有佈景主題的,所以接下來必須來設定佈景主題。
相較於 Hugo,Hexo、Jekyll有預設佈景主題,這點是 Hugo 較為不便的地方。
下載佈景主題
使用 git 下載,好處是新版本更新很方便。
cd hugodemo
git init
git submodule add https://github.com/budparr/gohugo-theme-ananke.git themes/ananke
若沒有 git 的環境,可以直接下載 ananke theme 解壓縮放入 hugodemo/themes/ananke。
編輯 config.toml 並將主題設定為 Ananke
echo theme = "ananke" >> config.toml其他佈景主題
Hugo 也提供了很多佈景主題,請直接參考 Hugo Themes。
增加一個新文章
hugo new posts/my-first-post.md啟動站台
hugo server -D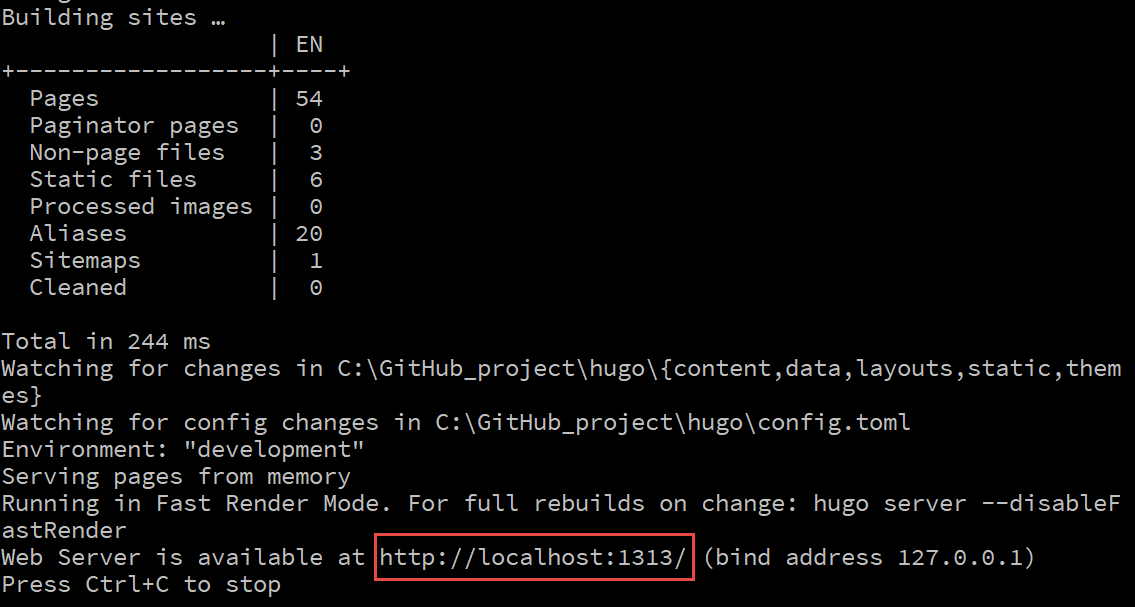
在瀏覽器中輸入紅框處網址即可看成果了。
Hugo 預設 port 為 1313,若被佔用會置換成其他 port。
目錄說明
若展開 hugodemo 資料夾,會包含以下內容 . ├── archetypes │ └── default.md ├── config.toml ├── content ├── data ├── layouts ├── static └── themes
其中
archetypes: 放置生成文件的基礎樣板資料夾。 config.toml: 控制 hugo 產生網頁內容的設定檔,預設使用 toml 格式。(也支援 yaml 與 json 格式)。 content: 放置 Markdown 文章與網頁內容的資料夾。 data: 儲存一些 configuration 檔案的地方,協助建構靜態網頁。 layouts: 儲存產生的網頁 layout 樣板(之後範例使用其他的 theme)。 static: 放置靜態內容,如圖片,CSS 以及 *.js 等內容。 themes: 從外部引入的 theme 檔案。
目前只要知道 config.toml, content, static 與 themes 這幾個部分即可。
站台設定
打開 config.toml
baseURL = "https://example.org/"
languageCode = "en-us"
title = "My New Hugo Site"
theme = "ananke"
部署
當成功的執行站台後,產生的靜態檔會生成在 public 的資料夾下,將此資料夾的靜態檔部署到 Hosting 主機上。
各平台部署方式請參考官網說明。
結論
優點
- 快!快!快!
- 已整合眾多功能(分類、標籤、Sitemap、GA)。
- config.toml 設定統一。
缺點
- 提供的佈景主題較少。
- 擴充插件較少。